
A better paint job starts before the paint goes on
Drywall Repair Saskatoon | When homeowners think about repainting, they usually think about colour first. Should the living room feel warmer? Should the hallway look brighter? Is it time to move away from an older shade? Colour matters, but the final result depends just as much on the wall underneath.
Small dents, nail holes, cracks, peeling tape, old patch marks, and rough areas can all show through fresh paint. In some cases, new paint makes those imperfections more obvious because the clean finish catches light differently.
For homeowners planning interior painting in Saskatoon, drywall repair is one of the most important steps in the process. Smooth, properly repaired walls help paint apply evenly, look cleaner in natural light, and last longer over time.
At Aaron Timoffee Painting, we see painting as a polished finish that starts with preparation, and drywall repair is often what separates a quick repaint from a professional-looking result.
Why does drywall damage happen
Most homes have some level of drywall wear. All the marks left behind, especially in busy spaces, are often moved when furniture gets moved. Pictures and shelves leave holes. Door handles hit walls. Kids and pets bump into corners. Previous repairs start to show.
Saskatoon homes also deal with seasonal changes. Dry winter air and temperature swings can contribute to small cracks or seam movement. This does not always mean there is a serious problem. Often, it simply means the home is responding to the climate around it.
The issue is what happens when those flaws are painted over. A fresh coat may improve the colour, but it will not hide dents or damaged drywall tape for long.
What drywall repair includes
Drywall Repair Saskatoon services can range from small touch-ups to more detailed wall preparation. The scope depends on the condition of the walls and the finish you want.
Common repairs include:
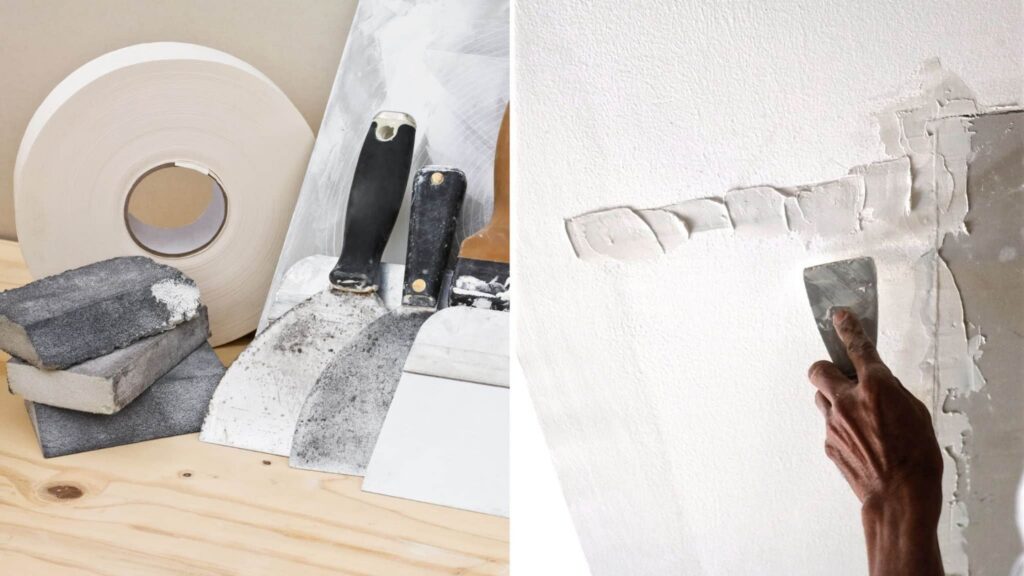
- filling nail holes and anchor holes
- repairing dents, gouges, and small holes
- smoothing rough or uneven patches
- fixing cracks along seams, corners, and ceiling lines
- repairing lifted or damaged drywall tape
- skim coating areas that need a smoother surface
- sanding repairs so they blend into the wall
- priming patched areas before painting
Each step matters. A patch that is not sanded properly can leave a raised edge. A repaired area that is not primed can absorb paint differently, causing flashing. A crack that is filled too quickly may return.
Good drywall repair is about blending the repair into the wall so it disappears once the paint goes on.
Why smooth walls make paint look better
Paint reflects light. When a wall is uneven, light catches every bump, dent, ridge, and patch. This is especially noticeable in rooms with large windows, long hallways, or strong overhead lighting. A wall may look fine straight on, but show every flaw when viewed from an angle.
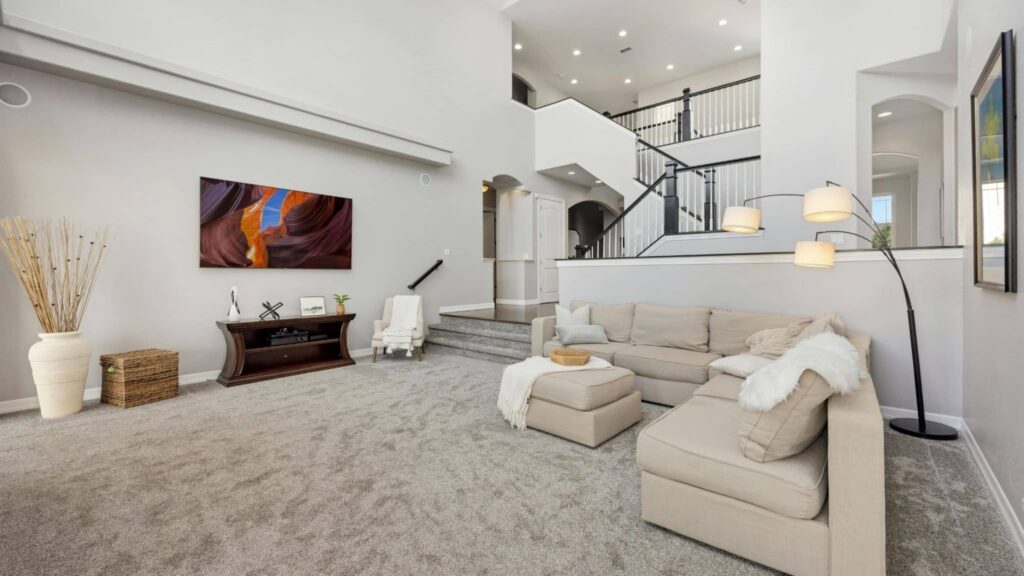
Smooth drywall helps paint look consistent. The colour appears more even. The sheen looks more balanced. The room feels cleaner and more finished.
This matters even more when using washable paints. Eggshell and satin finishes are practical for busy homes, but they can also reveal surface flaws more than flat paint. If you want durability in a high-traffic area, proper prep is essential.
For homeowners investing in interior painting in Saskatoon, drywall repair helps protect that investment.
Common wall issues to fix before painting
Some wall flaws are easy to overlook until fresh paint goes on. Before painting, it is worth checking for the most common problem areas.
Nail and anchor holes
Old picture hooks, shelves, and wall-mounted décor can leave small holes across a room. Filling and sanding them creates a cleaner surface.
Dents and gouges
These are common in hallways, stairwells, and family rooms. They often need more than a quick swipe of filler to blend properly.
Cracks
Cracks can appear around windows, doors, corners, and ceiling lines. Some are cosmetic, while others may need more careful preparation to reduce the chance of returning.
Drywall tape issues
Bubbling, lifting, or visible seams should not be painted over. Damaged tape may need to be cut out, resecured, coated, sanded, and primed.
Water stains
If the moisture source has been fixed, the area still needs proper prep. Stains can bleed through regular paint, so a stain-blocking primer may be required.
Old patch marks
DIY repairs often leave texture differences or uneven edges. These can become more visible after repainting unless they are blended first.
Why DIY repairs often show through
Small nail holes are usually manageable. Larger repairs are harder to hide.
Common DIY issues include using too much filler, not sanding enough, sanding too aggressively, skipping primer, or failing to match the wall texture. Each one can affect how the final paint looks.
Too much filler creates a raised patch. Not enough sanding leaves edges visible. Over-sanding can damage the drywall paper. Skipping primer causes flashing, where the repaired area looks dull, shiny, or slightly different from the rest of the wall.
Texture is another challenge. Even smooth walls have a subtle surface profile from previous paint and roller marks. A repair that is too smooth can stand out just as much as one that is too rough.
This is why drywall repair and painting work well together. When the same team handles both, the repair is completed with the final paint finish in mind.
Dust control and sanding matter
Sanding is a key part of wall repair, but it needs to be handled carefully. The goal is to smooth the repair without damaging the surrounding wall or spreading dust throughout the home.
Drywall dust is fine and travels easily. Good prep includes protecting floors, trim, furniture, and nearby surfaces. Work areas should be kept as clean as possible, especially in furnished homes.
Health Canada notes that renovation activities, including sanding drywall, can create fine particles indoors. Proper ventilation, containment, and cleanup help reduce dust during interior work. You can read more in Health Canada’s guidance on improving indoor air quality.
Priming repaired drywall before painting
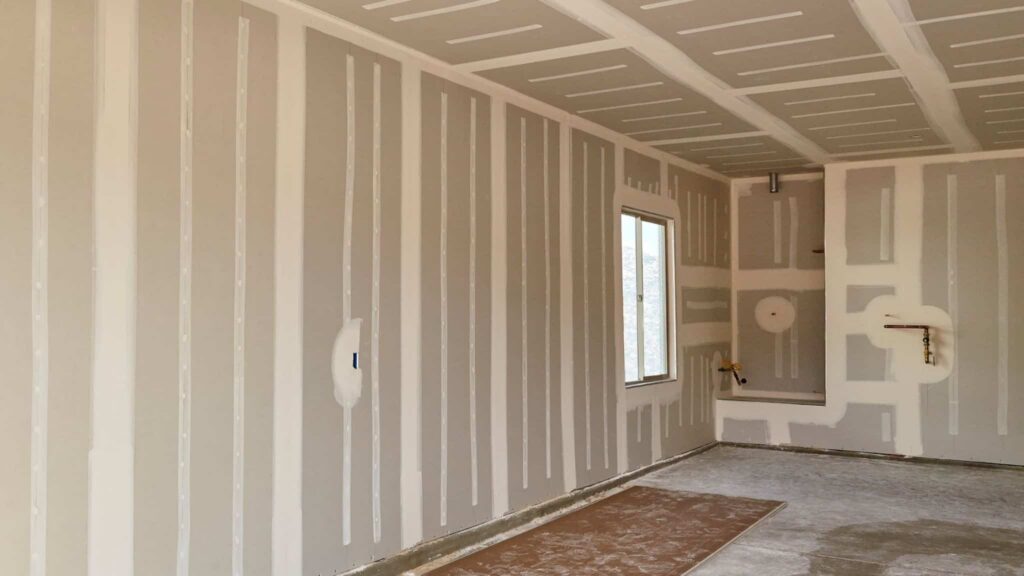
Primer is one of the most important steps after drywall repair. Fresh joint compound absorbs paint differently than previously painted walls. If repairs are not primed, the finished paint can look uneven.
Primer helps seal patched areas, improve adhesion, and create a more uniform surface. The type of primer depends on the issue. Some repairs need drywall primer. Others need stain-blocking primer, especially where water marks, smoke stains, or adhesive residue are present.
Skipping primer is one of the easiest ways to make a good repair look bad after painting. A little extra prep here can make a major difference in the final result.
When drywall damage may point to a bigger issue
Most drywall damage is cosmetic, but some signs deserve a closer look. Recurring cracks, large water stains, soft drywall, bubbling paint, or widespread tape failure may point to an underlying problem.
Before painting, the source should be addressed. A water stain should not be painted until the leak is fixed and the area is dry. A crack that keeps returning may need more than surface filler.
Painting over an unresolved issue only hides it temporarily. A professional review helps confirm whether the wall is ready for repair and paint or whether another trade may need to solve the cause first.
How drywall repair fits into an interior painting project
Drywall repair is usually one of the first steps in an interior repaint. Once furniture is moved and floors are protected, walls are inspected under good lighting. Damaged areas are marked, repaired, sanded, primed, and then painted.
A typical process includes:
- inspecting the walls
- filling holes and repairing cracks
- sanding and feathering repair edges
- sealing torn paper or stains where needed
- priming repaired areas
- applying finish coats
This sequence helps prevent surprises and keeps the project moving smoothly.
For homeowners comparing painters in Saskatoon, it is worth asking how wall prep is handled. The answer will tell you a lot about the quality of the final paint job.
Why May is a good time for drywall repair and painting
May is a practical time for interior updates. Longer days make it easier to spot dents, uneven patches, and old repairs that were less noticeable in winter. Many homeowners also want their interiors refreshed before summer gatherings, visitors, and outdoor schedules take over.
If you are planning Drywall Repair Saskatoon work, spring gives you time to complete prep and painting before the busiest part of summer. It is also a good opportunity to repair high-traffic areas like hallways, entryways, stairwells, and family rooms.
Working with local Saskatoon painters
When hiring Saskatoon painting contractors, look for a team that understands both repair work and finish quality. Painting over damage is easy. Preparing the wall properly takes more time, care, and experience.
A strong process should include clear communication, surface protection, proper patching, sanding, priming, and cleanup. Homeowners should also know what level of drywall repair is included before the project begins.As one of the local painting companies in Saskatoon, Aaron Timoffee Painting helps homeowners plan the full process, from wall repair to final colour. That means the finished room looks cleaner, feels more polished, and holds up better over time.